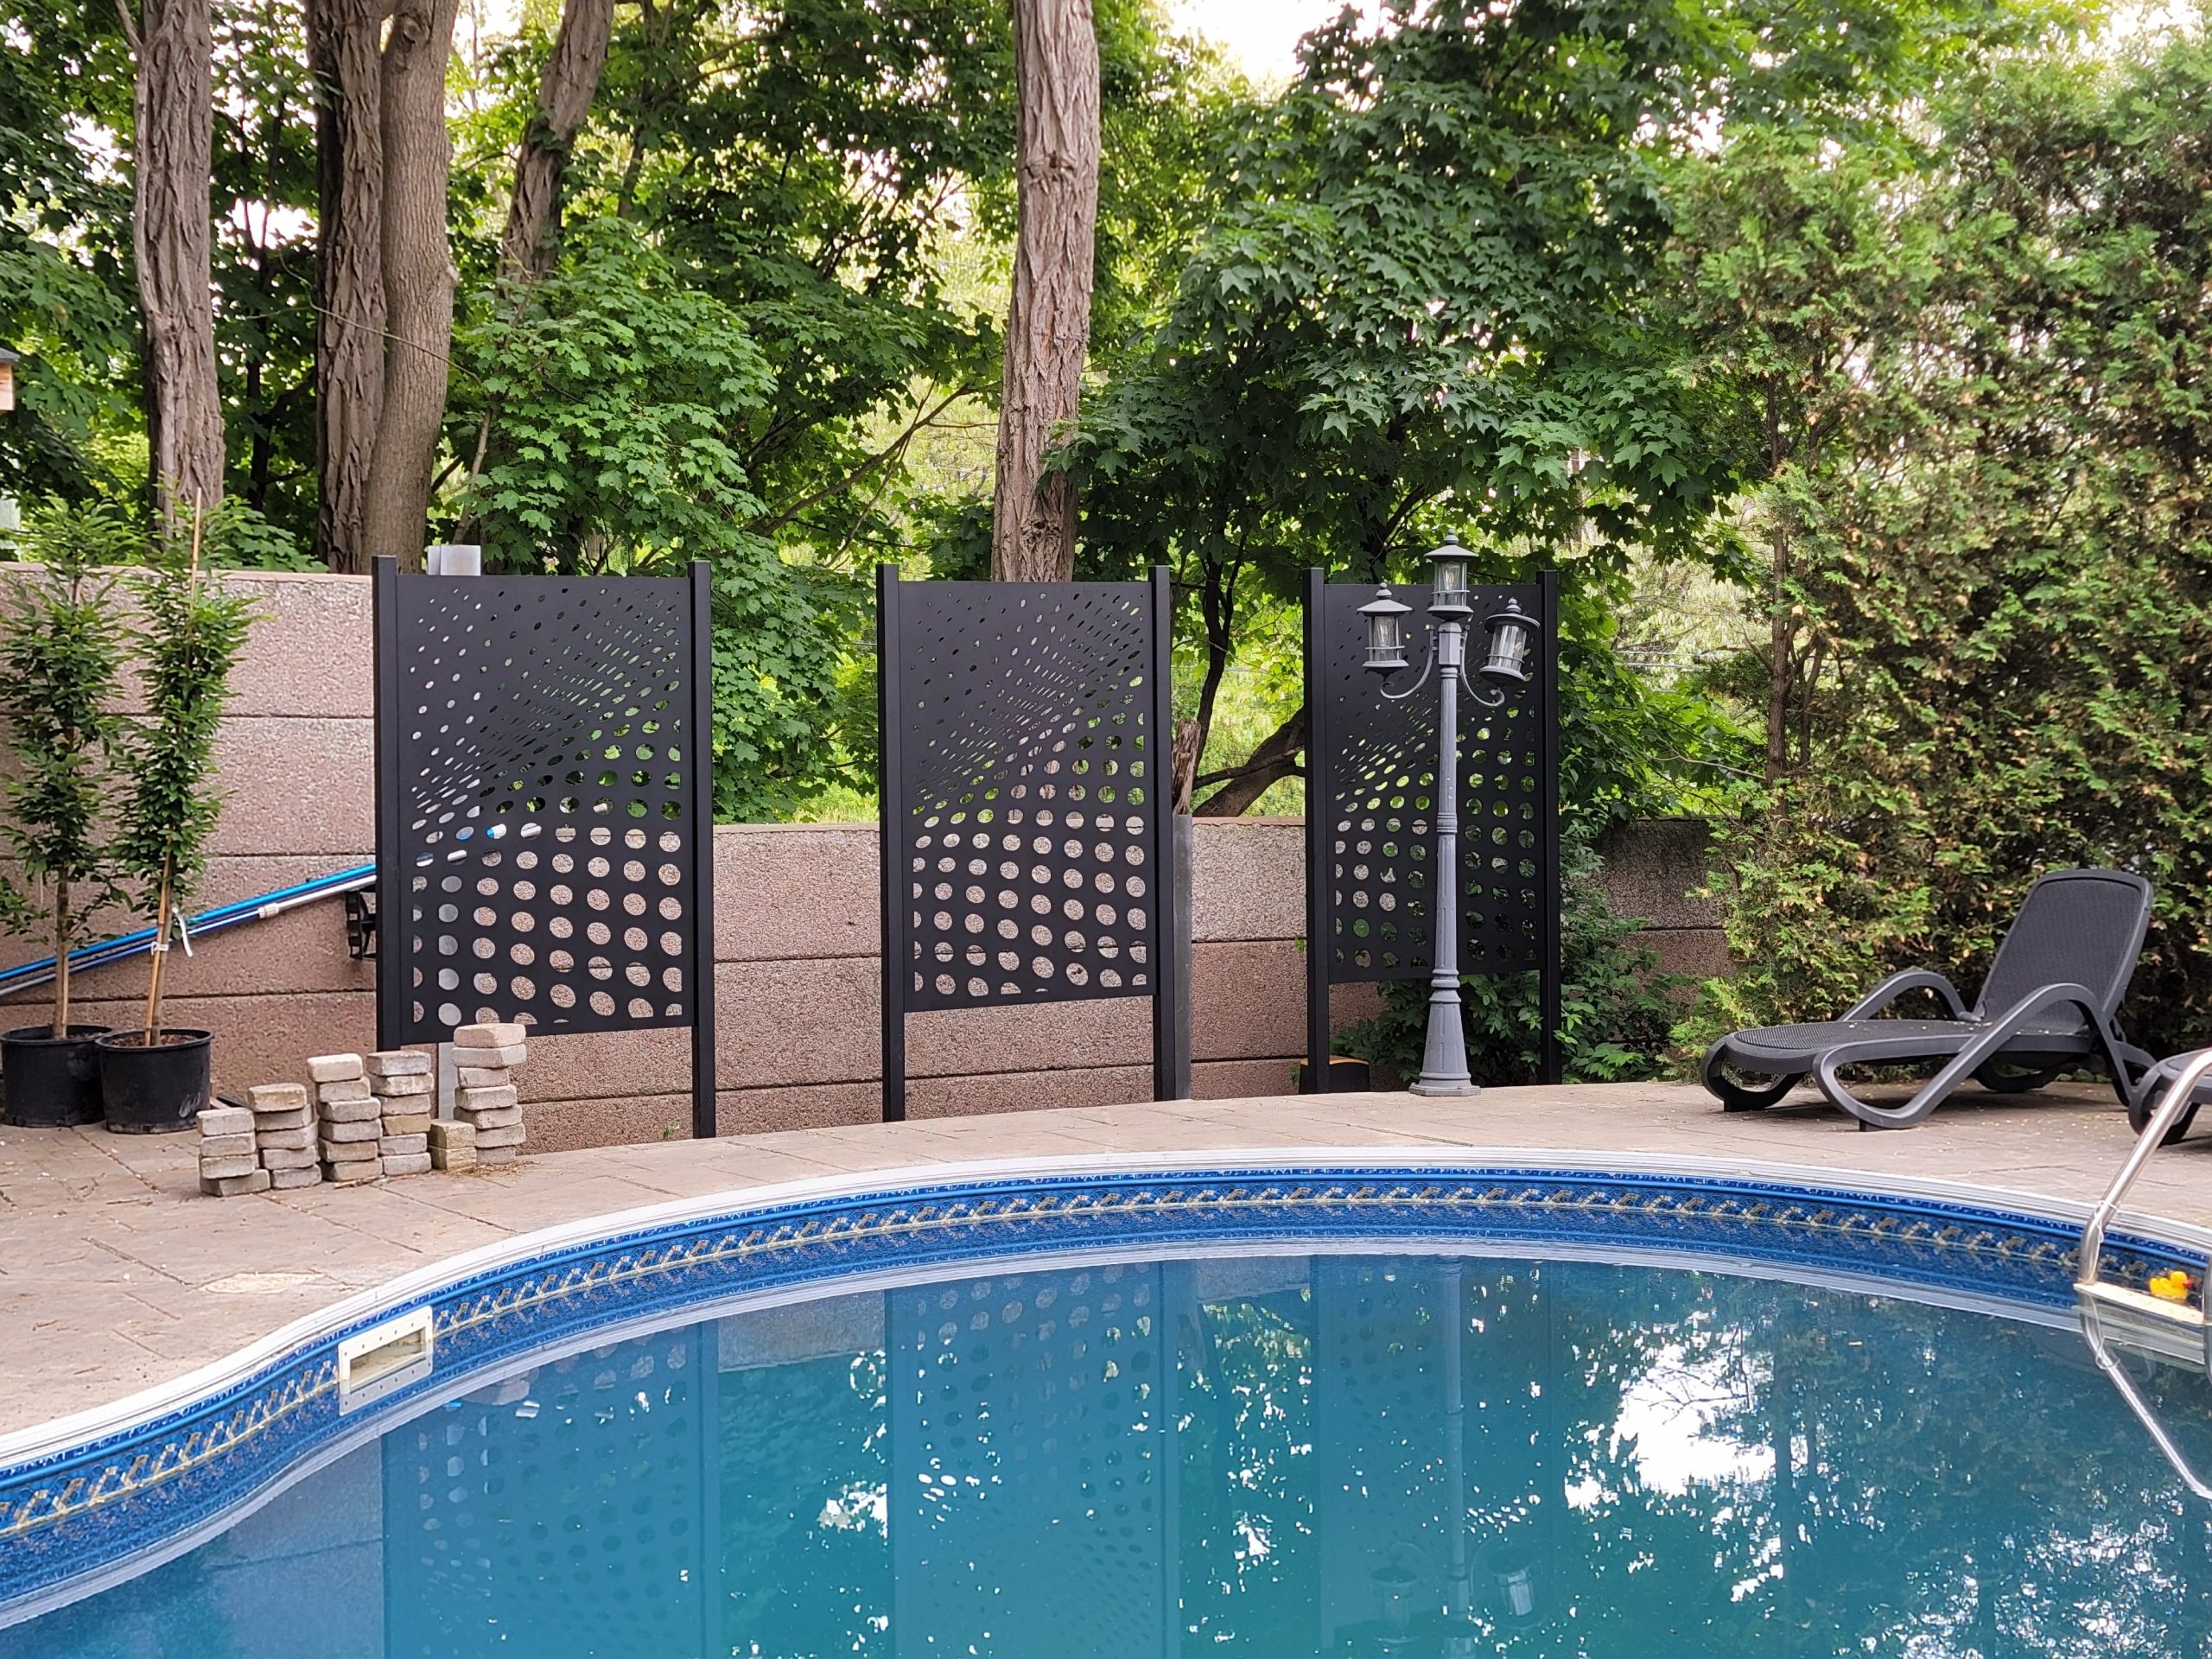
Privacy panels in Colorado Springs are a popular choice for homeowners looking to enhance their outdoor living space. These panels provide a practical solution for creating a secluded and private retreat in your backyard.
There are several types of privacy panels available in Colorado Springs, including wood, vinyl, and composite materials. Each type has its own unique features and benefits. For example, wood panels offer a natural look and feel, while vinyl panels are resistant to weather and easy to maintain. Composite panels combine the best of both worlds, providing durability and style.
When choosing privacy panels, it’s important to consider factors such as cost, maintenance, and design. You’ll want to choose a material that fits your budget and lifestyle, as well as one that complements the overall aesthetic of your home. Additionally, you’ll need to think about the height and length of the panels you need to achieve the desired level of privacy.
Installing privacy panels is a relatively simple process that can be done by most homeowners with basic tools and some DIY skills. However, if you’re not confident in your abilities, it’s always best to hire a professional installer. This will ensure that the job is done correctly and efficiently.
Overall, privacy panels are a great way to transform your outdoor space into a peaceful oasis. With a wide range of options available in Colorado Springs, you’re sure to find the perfect solution for your needs and preferences.
Mounting metal decorative laser-cut panels is a relatively simple process that can be done by most homeowners with basic tools and some DIY skills. However, if you’re not confident in your abilities, it’s always best to hire a professional installer. This will ensure that the job is done correctly and efficiently.
Here are the general steps for mounting metal decorative laser-cut panels:
- Prepare the surface. Make sure the surface where you want to mount the panels is clean, dry, and free of any debris. If necessary, use a primer or sealant to prepare the surface.
- Measure and mark. Measure the dimensions of the panel and make marks on the wall or other surface where you will mount it. Use a level to make sure the marks are straight and even.
- Drill holes. Depending on the type of mounting hardware you are using, you may need to drill holes in the panel or the surface you are mounting it to. Be careful not to damage the panel or surface during drilling.
- Attach the mounting hardware. Attach the mounting hardware to the panel or surface using screws or bolts. Make sure the hardware is secure and won’t come loose over time.
- Mount the panel. Carefully lift the panel into place and align it with the marks you made earlier. Secure the panel to the mounting hardware using screws or bolts.
- Check for stability. Once the panel is mounted, check to make sure it is stable and won’t fall or move. If necessary, adjust the mounting hardware or add additional support.
- Finish. You can now enjoy your new metal decorative laser-cut panel!
Remember, safety should always be your top priority when working with tools and materials. Wear protective gear such as gloves, goggles, and a dust mask to protect yourself from injury and exposure to harmful substances.

